As an Amazon Associate, we earn from qualifying purchases. Some links on this site are affiliate links at no extra cost to you. Our recommendations are based on thorough research and editorial judgment.

Tips For Weatherproof Doors?
To weatherproof doors effectively, we should start by selecting suitable weatherstripping materials like foam, vinyl, or rubber, depending on the door’s usage. Prior to installation, we must guarantee precise measurements and proper door alignment to prevent sticking. After applying weatherstripping, we check for gaps to confirm a snug fit. Regular maintenance, such as cleaning and inspections of seals, can enhance longevity. By following these steps, we can guarantee peak performance and efficiency—let’s explore further details.
Key Takeaways
- Choose appropriate weatherstripping materials based on door traffic and environment, such as foam for low-traffic and rubber for high-traffic areas.
- Inspect and clean the door frame thoroughly before installation, ensuring it has no damage for better weatherproofing.
- Measure and cut weatherstripping accurately, ensuring a snug fit to prevent gaps and air leaks.
- Seal all joints and install flashing techniques, such as drip caps and sill pans, to improve watertightness.
- Regularly maintain and inspect seals, lubricate hinges, and check for wear to ensure continued effectiveness against weather elements.
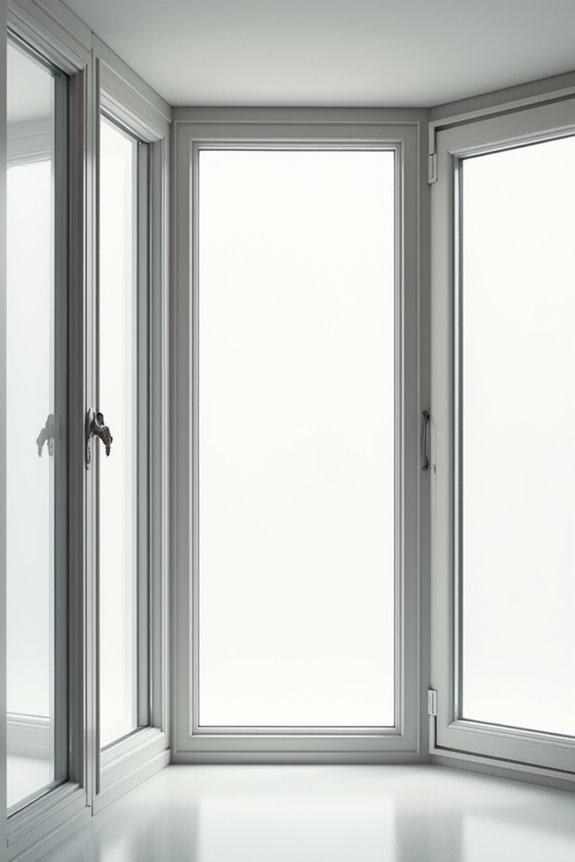
Choosing Appropriate Weatherstripping Materials
You may be interested


When selecting weatherstripping materials, it is crucial to take into account both the specific application and the environment in which they will be used.
For effective choices, consider these weatherstrip types:
- Foam strips: Flexible and easy to install, perfect for low-traffic areas, though durability is limited.
- Vinyl strips: Highly durable, suitable for sliding doors. Moderate installation needed.
- Rubber strips: Offer excellent durability, designed for high-traffic use, ideal for garages.
- Metal strips: Provide superior durability for commercial spaces, though installation can be challenging. Additionally, effective door seal kits can lead to a 30% reduction in heating and cooling demands.
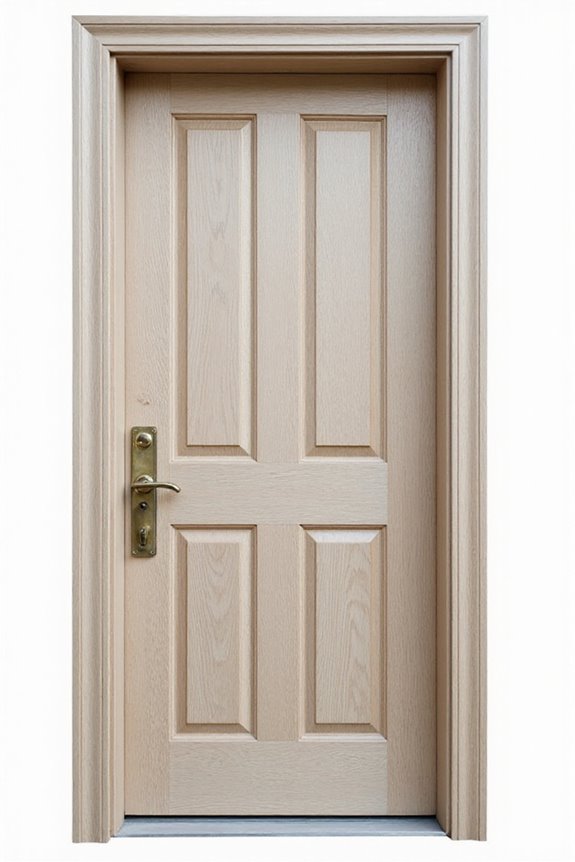
Preparation and Door Adjustment Before Installation

To achieve a successful weatherproof door installation, we must focus on careful preparation and precise adjustments.
Door Frame Inspection
Let’s start with a thorough door frame inspection. We should clean and dry the frame, removing any debris and checking for damage. If we find issues like rot, professional repairs are essential.
Measuring and Dry Fitting
Next, we’ll measure the door frame’s dimensions carefully, guaranteeing a snug fit. A dry fitting is important to confirm alignment before proceeding. We should adjust the frame with shims as needed to make sure it’s plumb, level, and square.
Remember to test the door’s clearance to avoid sticking. Additionally, regular inspections of the seals can help maintain effectiveness and prolong the life of the door kit. These steps are critical for a proper installation that prevents future issues.
Installing Weatherstripping Correctly

While we focus on proper weatherstripping installation, attention to detail is essential for ideal performance. To guarantee a snug, effective fit, we should utilize correct weatherstripping installation techniques. Begin by measuring door gaps along both side jambs and the head jamb, noting the largest distances. Cut the weatherstripping slightly longer initially, using a 45-degree angle cut at ends for seamless overlaps.
Let’s remember common installation mistakes: avoid cutting strips too short or too long, as this may lead to leaks or door binding. After placing the weatherstripping, we need to confirm that the door closes smoothly without excessive pressure. Finally, performing a thorough inspection will help us find and address any gaps, leading to a well-sealed door. Additionally, choosing weatherstripping compatible with gap size compatibility can enhance the efficiency of the installation process.
Ensuring Door Watertightness

Achieving effective door watertightness involves several critical components that must work together seamlessly. First, we need to properly apply flashing techniques. This includes using flashing tape on the vertical flanges of the door frame, extending it two inches beyond the top and bottom corners for ideal overlap protection.
Next, we should install a sill pan, which helps create a drainage slope at the door base. Fabricate it from stretchable flashing or plastic, extending the flashing tape around corners for complete waterproofing.
To enhance overall watertight integrity, seal all joints with manufacturer-approved adhesives. Finally, installing drip caps above the door will divert water away and minimize direct exposure, ensuring our doors remain resilient against the elements over time. Additionally, energy efficiency is enhanced by ensuring proper sealing around doors to minimize drafts and heat loss.
Shimming and Securing Door Frame for Weatherproofing
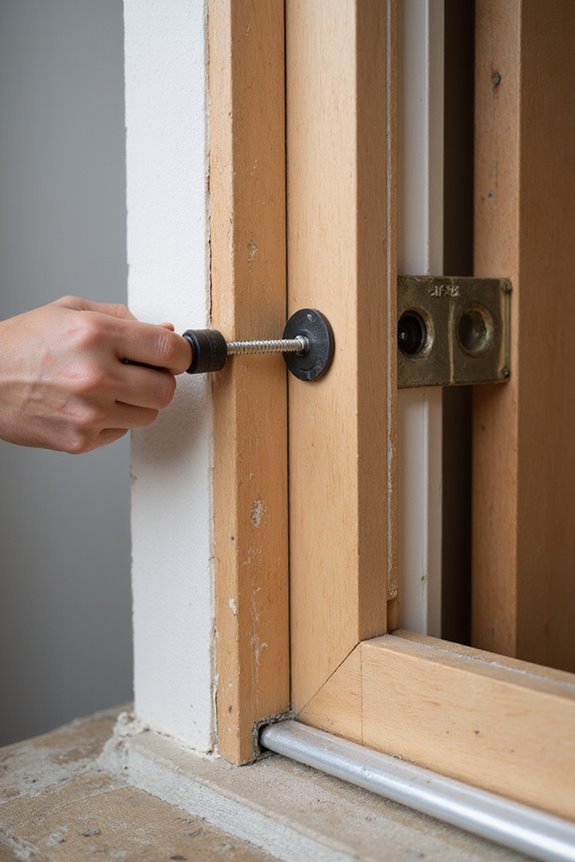
Identifying Gaps
Let’s begin by inspecting the door frame for any gaps. We’ll remove the door carefully, unscrew the hinges, and set it aside.
Shimming Process
Using shim recommendations, we’ll insert shims snugly at the hinge side, guaranteeing it’s plumb. We should place additional shims under the jamb, particularly at uneven corners.
Securing the Frame
After all door frame adjustments, we’ll nail or screw through the jamb and shims, locking them in place. It’s important to guarantee that the door swings freely and seals properly. Finally, we’ll check the level and plumb once more to confirm our work before applying insulation for improved energy efficiency. Additionally, proper installation can lead to up to 20% savings on heating and cooling bills due to significant reductions in air leaks.
Maintenance and Inspection for Lasting Effectiveness
To guarantee our doors remain effective against the elements, regular maintenance and inspection are essential practices. By implementing preventive maintenance and conducting seasonal inspections, we can preserve functionality.
Regular Cleaning:
- Clean most doors monthly; uPVC doors require biannual cleaning.
- Use mild soap and water on surfaces, avoiding harsh chemicals.
- Remove debris from thresholds and tracks regularly.
Weatherstripping Checks:
- Conduct annual inspections for any cracks or tears.
- Pay attention post-storm; replace damaged weatherstripping promptly.
Lubrication Needs:
- Lubricate hinges and moving parts at least annually.
- Tighten loose screws and replace corroded hardware.
Inspecting seals for effectiveness can help detect air leakage prevention issues early on, enhancing the durability of your doors.
The Importance of Proper Door Alignment
Proper door alignment is crucial for maintaining weatherproofing effectiveness and overall door functionality. When we notice misalignment symptoms—like uneven gaps—our weatherproofing efforts falter, allowing drafts and moisture to enter.
Even slight misalignment impacts thermal insulation and energy efficiency. It can lead to door binding, increasing wear on weatherproof materials, and shortening their lifespan.
To guarantee ideal alignment, we should regularly inspect for gaps or sagging. Adjusting hinges, strike plates, and latches is essential for a snug fit. Additionally, we might need to trim or plane doors for perfect closure.
Selecting the Right Door Sweep for Maximum Efficiency
When we consider maximizing energy efficiency through weatherproofing, selecting the right door sweep is vital. There are various door sweep types to choose from, each offering unique benefits.
- Strip Style Sweeps: Easy to install and effective at blocking drafts.
- Bristle Sweeps: Good for uneven floors but less airtight.
- Multi-fin Sweeps: Recommended for exterior doors; enhance seals effectively.
- Automatic Door Bottoms: Provide precise seals when the door closes.
For ideal energy efficiency, solid rubber or silicone materials are best, reducing heating and cooling costs by up to 20%. It’s also important to measure door dimensions accurately and choose sweeps that fit gaps of ¼ inch to 1 inch, ensuring complete sealing without obstructing door movement.
Frequently Asked Questions
How Do I Choose a Door Sweep Material?
To choose a door sweep material, we should consider door sweep types like rubber or vinyl for durability against weather, while brush sweeps work well for uneven surfaces. Let’s prioritize both sealing effectiveness and long-lasting performance together!
Can Weatherstripping Reduce Outside Noise?
Absolutely, weatherstripping can transform our homes into serene sanctuaries! By using the right soundproofing materials, we can achieve remarkable noise reduction that lifts our spirits and enhances our comfort. Let’s embrace the tranquility together!
How Often Should I Check My Door Weatherproofing?
We should check our door weatherproofing at least twice a year. Let’s create a weatherproofing checklist for quarterly visual inspections and monthly cleanings, ensuring our doors protect us from drafts and unwanted guests effectively.
What Tools Are Needed for Weatherstripping Installation?
What tools do we need for weatherstripping installation? We’ll need tape measures, drills, utility knives, and more. With the right tools selection and installation techniques, we’ll create a snug fit for our doors together.
Are There Energy Tax Credits for Weatherproofing Projects?
Yes, there are energy tax incentives for weatherproofing projects. By enhancing our home’s energy efficiency, we can benefit from substantial credits, making it a rewarding investment for us and our loved ones. Let’s explore our options together!